Spring MVCでHello World(WEBアプリケーション)
今回からWEBアプリケーションをやります。Spring MVCを使用します。今回は長いので説明はなしで、動作確認するまでをやります。説明は次回にやる予定です。
開発環境はEclipse、WEBサーバはTomcatを使用します。
Webプロジェクトの作成
まずは普通にEclipseでDynamic Web Project(動的Webプロジェクト)を作成します。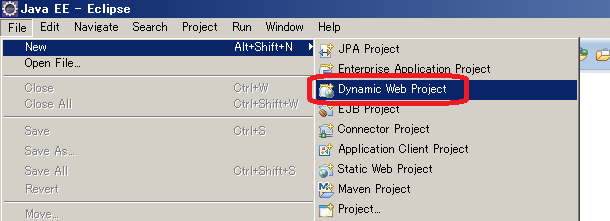
プロジェクトの名前は「springMVC」としました。
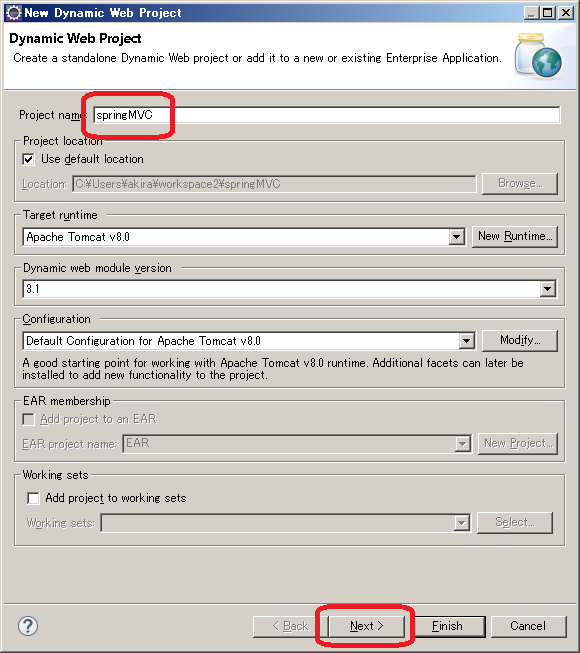
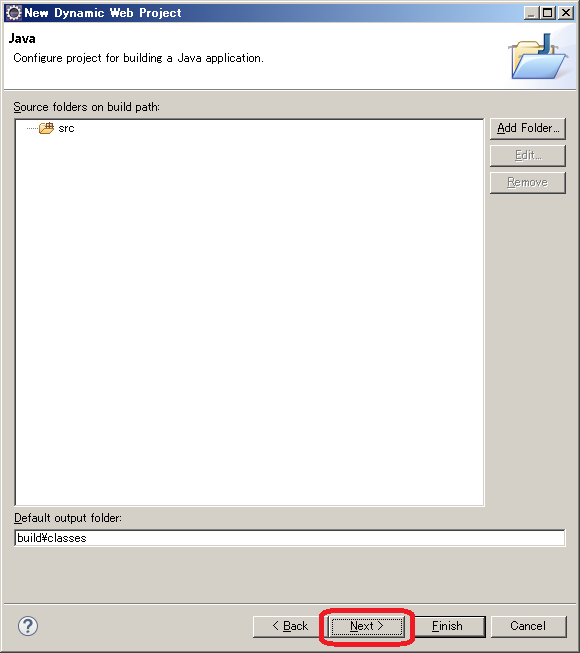
そのままNextボタンを押します。
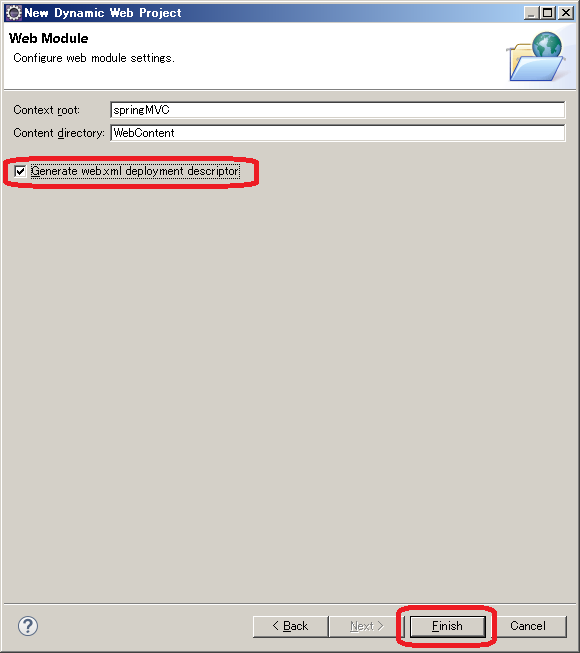
Generate web.xml deployment descriptor にチェックを入れてweb.xmlを作成します。
これでWebプロジェクトが作成されました。次にMavenプロジェクトに変換します。
Mavenプロジェクトに変換
プロジェクトを右クリックして「Configure」 → Convert to Maven Project を選択します。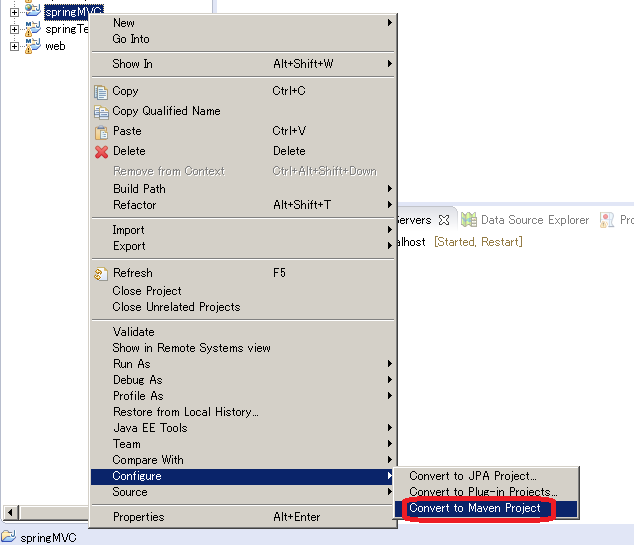
そのままFinishボタンを押します。

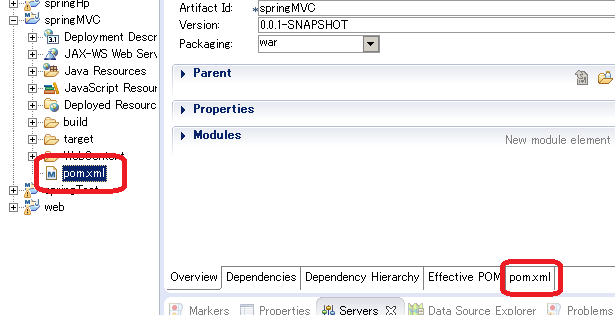
pom.xmlの編集
Mavenプロジェクトはpom.xmlに必要なライブラリを記述するだけで自動的にダウンロードしてくれます。pom.xmlを開きます。
Spring MVCを使用するため、spring-webmvcを宣言します。
<project xmlns="http://maven.apache.org/POM/4.0.0"
 xmlns:xsi="http://www.w3.org/2001/XMLSchema-instance"
 xsi:schemaLocation="http://maven.apache.org/POM/4.0.0 https://maven.apache.org/xsd/maven-4.0.0.xsd">
	<modelVersion>4.0.0</modelVersion>
	<groupId>springMVC</groupId>
	<artifactId>springMVC</artifactId>
	<version>0.0.1-SNAPSHOT</version>
	<packaging>war</packaging>
	<build>
		<plugins>
			<plugin>
				<artifactId>maven-compiler-plugin</artifactId>
				<version>3.8.1</version>
				<configuration>
					<release>17</release>
				</configuration>
			</plugin>
			<plugin>
				<artifactId>maven-war-plugin</artifactId>
				<version>3.2.3</version>
			</plugin>
		</plugins>
	</build>
	<dependencies>
		<dependency>
			<groupId>org.springframework</groupId>
			<artifactId>spring-webmvc</artifactId>
			<version>5.3.22</version>
		</dependency>
		<dependency>
			<groupId>javax.servlet</groupId>
			<artifactId>javax.servlet-api</artifactId>
			<version>4.0.1</version>
			<scope>provided</scope>
		</dependency>
	</dependencies>
</project>
web.xmlの編集
web.xmlを編集します。web.xmlはWebContext → WEB-INF の中にあります。無ければテキストファイルなので作って下さい。
<?xml version="1.0" encoding="UTF-8"?>
<web-app xmlns:xsi="http://www.w3.org/2001/XMLSchema-instance"
	xmlns="http://xmlns.jcp.org/xml/ns/javaee"
	xsi:schemaLocation="http://xmlns.jcp.org/xml/ns/javaee http://xmlns.jcp.org/xml/ns/javaee/web-app_3_1.xsd"
	id="WebApp_ID" version="3.1">
	<display-name>springMVC</display-name>

	<listener>
		<listener-class>org.springframework.web.context.ContextLoaderListener</listener-class>
	</listener>
	<filter>
		<filter-name>CharacterEncodingFilter</filter-name>
		<filter-class>org.springframework.web.filter.CharacterEncodingFilter</filter-class>
		<init-param>
			<param-name>encoding</param-name>
			<param-value>utf-8</param-value>
		</init-param>
		<init-param>
			<param-name>forceEncoding</param-name>
			<param-value>true</param-value>
		</init-param>
	</filter>
	<filter-mapping>
		<filter-name>CharacterEncodingFilter</filter-name>
		<url-pattern>/*</url-pattern>
	</filter-mapping>
	<servlet>
		<servlet-name>dispatcherServlet</servlet-name>
		<servlet-class>org.springframework.web.servlet.DispatcherServlet</servlet-class>
		<init-param>
			<param-name>contextConfigLocation</param-name>
			<param-value></param-value>
		</init-param>
		<load-on-startup>1</load-on-startup>
	</servlet>
	<servlet-mapping>
		<servlet-name>dispatcherServlet</servlet-name>
		<url-pattern>/</url-pattern>
	</servlet-mapping>

</web-app>
黄色部分がSpring MVC関連の設定になります。
applicationContext.xmlの作成
web.xml と同じフォルダに 「applicationContext.xml」という名前のファイルを作って下さい。中身はこんな感じになります。
<beans xmlns="http://www.springframework.org/schema/beans"
	xmlns:xsi="http://www.w3.org/2001/XMLSchema-instance" xmlns:context="http://www.springframework.org/schema/context"
	xmlns:mvc="http://www.springframework.org/schema/mvc"
	xsi:schemaLocation="
		http://www.springframework.org/schema/beans
		http://www.springframework.org/schema/beans/spring-beans-4.2.xsd
		http://www.springframework.org/schema/context
		http://www.springframework.org/schema/context/spring-context-4.2.xsd
		http://www.springframework.org/schema/mvc
		http://www.springframework.org/schema/mvc/spring-mvc-4.2.xsd">

	<context:component-scan base-package="spring.test" />

	<mvc:annotation-driven />

	<bean
		class="org.springframework.web.servlet.view.InternalResourceViewResolver">
		<property name="prefix" value="/WEB-INF/" />
		<property name="suffix" value=".jsp" />
	</bean>
</beans>
web.xmlがWEBアプリの設定ファイルで、applicationContext.xmlがSpringの設定ファイル(Bean定義ファイル)になります。
コントローラの作成
サーブレットと同じような役割をするコントローラというクラスを作成します。
package spring.test;

import static org.springframework.web.bind.annotation.RequestMethod.GET;

import org.springframework.stereotype.Controller;
import org.springframework.web.bind.annotation.RequestMapping;

@Controller
public class TestController {

	@RequestMapping(value = "/", method = GET)
	public String show() {
		return "test";
	}
}
Spring設定ファイル(applicationContext.xml)のcomponent-scanで指定したパッケージの中で@Controllerアノテーションが宣言されているファイルを検索してオブジェクトを自動生成します。
Jspの作成
Jspファイルを作成します。今回はweb.xmlと同じフォルダに格納します。ファイル名を「test.jsp」とします。
<%@ page contentType="text/html; charset=UTF-8" pageEncoding="UTF-8"%>
<html>
<head>
<title>Hello Spring Framework</title>
</head>
<body>Hello Spring Framework
</body>
</html>
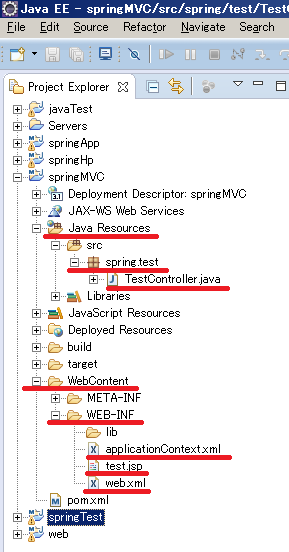
これで必要なファイルはすべて作成しました。プロジェクト構成は以下の感じになっているはずです。
デプロイ
それではデプロイ(配置)しましょう。まずはEclipse Tomcatにプロジェクトを追加します。
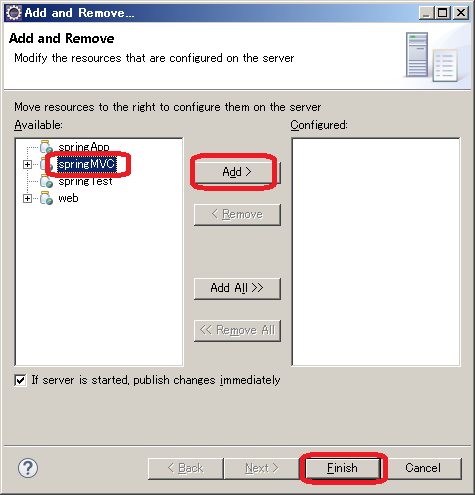
他のWEBアプリと同じようにServersタグでTomcat Serverを右クリックして「Add and Remove」を選択します。
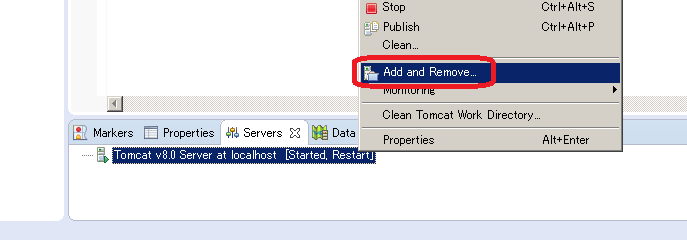
今回作成した springMVC を選択し Addボタンを押して、追加した後にFinishボタンを押します。
動作確認
デプロイした後は、一度、Tomcatを再起動させて下さい。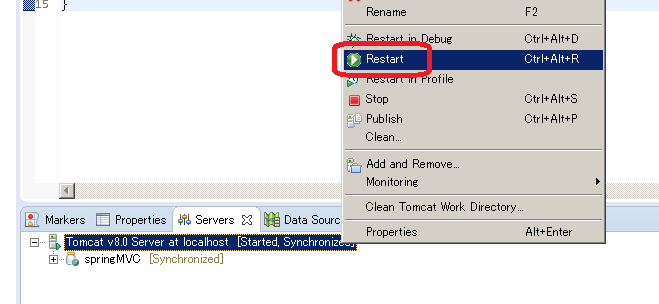
Tomcat起動時のログでエラーが出てなければ正常に処理できていると思われます。
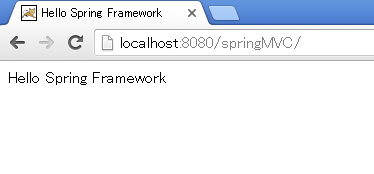
ブラウザより以下のURLにアクセスして見て下さい。
http://localhost:8080/springMVC/
「Hello Spring Framework」と表示されれば成功です。
ページのトップへ戻る